Table of contents
- Introduction:
- Step 1: Defining the base image
- Step 2: Setting the working directory
- Step 3: Copying package.json and package-lock.json
- Step 4: Installing dependencies
- Step 5: Copying the application code
- Step 6: Building the Next.js application
- Step 7: Exposing the application's port
- Step 8: Starting the application
- Overall Code
- How to run this docker file
Introduction:
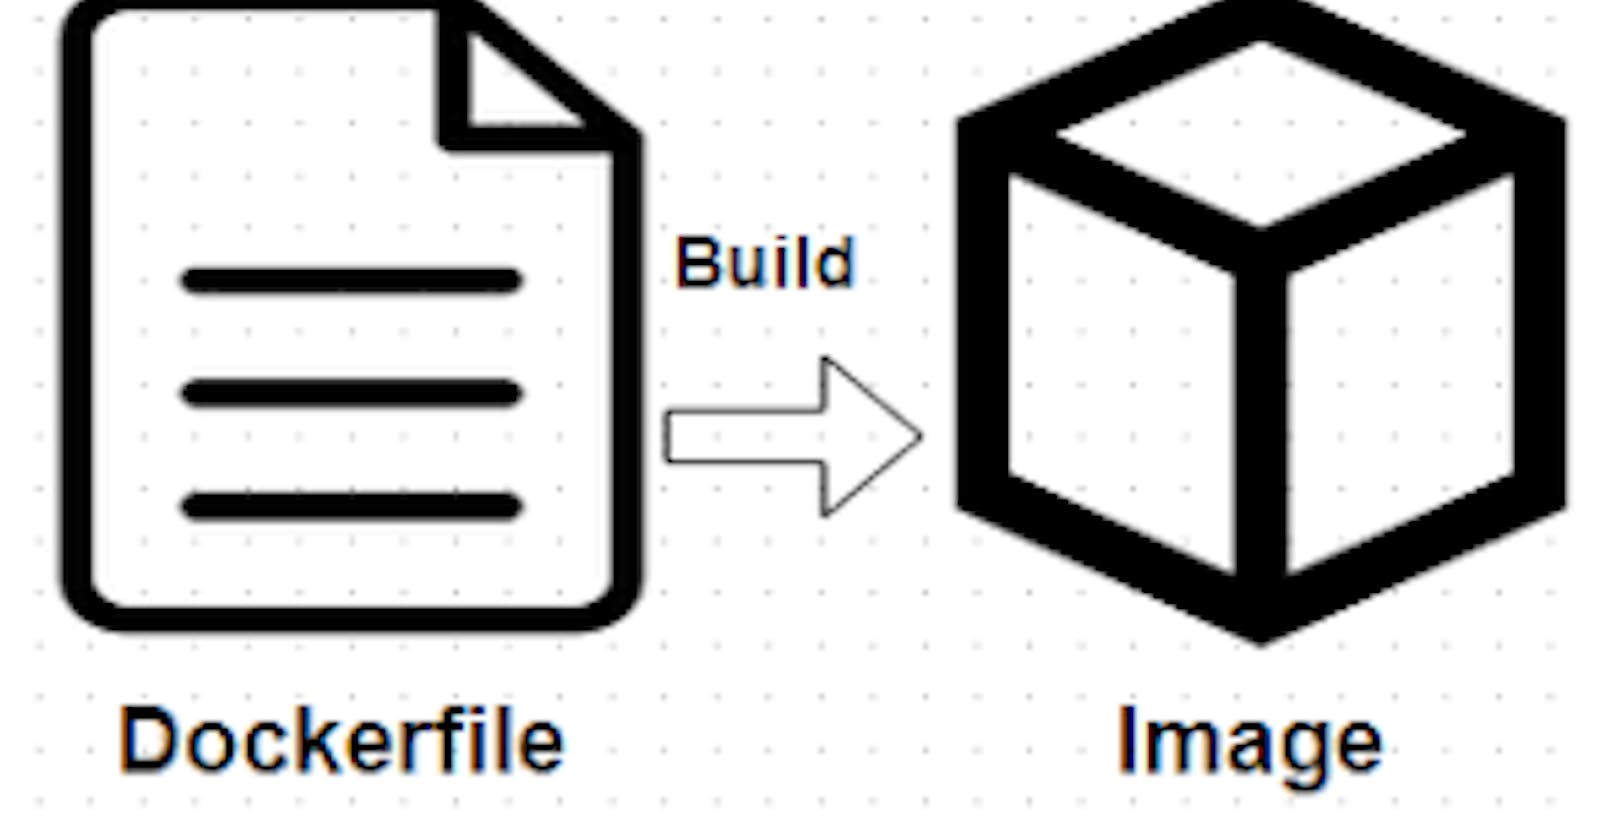
Docker has become essential for building, packaging, and deploying applications across different environments. In this blog post, we will walk through a Dockerfile that sets up a Node.js runtime environment for a web application and explains each step in detail. By the end of this article, you should better understand how to create Dockerfiles for Node.js applications.
Step 1: Defining the base image
FROM node:14
The FROM the instruction specifies the base image to use for our Docker container. In this case, we use an official Node.js runtime image with version 14 as our starting point. This image includes the necessary dependencies and tools to run Node.js applications.
Step 2: Setting the working directory
WORKDIR /app
The WORKDIR instruction sets the working directory within the container where subsequent commands will be executed. In this case, we set it to /app. This directory will be created if it doesn't exist.
Step 3: Copying package.json and package-lock.json
COPY package*.json ./
The COPY instruction copies files from the host machine to the container. Here, we copy package.json and package-lock.json from the current directory on the host to the /app directory in the container. These files contain the dependencies required by the Node.js application.
Step 4: Installing dependencies
RUN npm install
The RUN instruction allows us to execute commands inside the container during the build process. Here, we use npm install to install the Node.js dependencies specified in package.json and package-lock.json. This step ensures that the required modules are available within the container.
Step 5: Copying the application code
COPY . .
In this step, we copy the rest of the application code from the host to the container. The . refers to the current directory on the host, and the second . refers to the current working directory in the container, which is /app. This step includes all the source code, configuration files, and any other assets required by the application.
Step 6: Building the Next.js application
RUN npm run build
Here, we run the build command specific to the Next.js application. The actual command may vary depending on the project setup. Building the application generates any required static files, optimized assets, or transpired code, preparing the application for production deployment.
Step 7: Exposing the application's port
EXPOSE 3000
The EXPOSE instruction informs Docker that the container listens on a specific network port at runtime. In this case, we expose port 3000, which is the default port used by many Node.js applications.
Step 8: Starting the application
CMD ["npm", "run", "dev"]
The CMD the instruction specifies the default command to run when the container starts. Here, we start the application by executing npm run dev. This command starts the development server or any other script defined in the package.json file that launches the application.
Overall Code
How to run this docker file
- Build the Docker image using the following command:
docker build -t my-node-app-name .
- Run a container
docker run -p 3000:3000 my-node-app-name
Access the application by opening a web browser and navigating to
http://localhost:3000. You should see your Node.js application running.To stop the application, go back to the terminal or command prompt where the container is running and press
Ctrl + C. This will stop the container and terminate the application.Great job! 👏🎉 You have successfully run your Node.js application using Docker! 🐳🚀 Keep up the fantastic work and continue exploring the possibilities that Docker offers for seamless deployment and distribution of your applications. If you have any more questions or need further assistance, feel free to ask. Happy coding! 💻😊
